For fresh white deodorant marks, rub the fabric against itself or brush it out, then launder as usual. For set-in yellow underarm stains, pretreat with undiluted liquid detergent and let it soak anywhere from 30 minutes to overnight before washing. Always patch-test on colored or delicate fabric first, and never toss a stained shirt in the dryer until the mark is completely gone.
TL;DR:
- Fresh deodorant marks on tight-knit fabrics can usually be removed by rubbing fabric against itself or with a soft brush, avoiding aggressive scrubbing.
- Set-in yellow stains require pretreatment with undiluted liquid detergent and soaking for 20 to 60 minutes, followed by laundering with enzyme-based detergent for best results.
- For stubborn yellow stains, oxygen bleach soaking for 30 minutes to overnight before washing is effective if the fabric label permits it.
- Always patch-test pretreatment agents on colored or delicate fabrics and avoid mixing vinegar with chlorine bleach or ammonia of any kind.
- Delicate or dry-clean-only garments should be treated professionally to prevent damage or color loss from at-home treatments.
Table of Contents
- Quick fixes for fresh white deodorant marks
- Treating set-in yellow underarm stains
- Soak options and safe chemistry: vinegar, peroxide, and what not to mix
- Fabric-specific precautions and patch-test steps
- A simple workflow from inspection to wash
- When to bring the garment to a professional cleaner
- Why we care about keeping advocacy shirts wearable
- Choosing shirts that hold up to regular wear
- Sources
- FAQ
Quick fixes for fresh white deodorant marks
If the mark is fresh and white, you probably don’t need anything from under the sink. The fastest fix is friction: rub the two sides of the fabric against each other, the way you’d wash your hands, and the antiperspirant residue often crumbles away on its own.
- Rub the fabric against itself in short strokes until the white residue loosens.
- If it’s stubborn, use a used dryer sheet, a piece of foam rubber, or a soft-bristled brush to lift the rest.
- Brush off any loose particles before the shirt goes anywhere near water or heat.
- Launder as usual if the mark is gone; if a shadow remains, move to a pretreatment before washing.
Gentle friction works better than hard scrubbing because aggressive rubbing can push residue deeper into the weave instead of lifting it out, something laundry professionals point to when recommending gentle rubbing over scrubbing for fresh marks. Tight-knit fabrics like cotton jersey tend to release residue easily this way. Looser knits or ribbed fabric can trap particles in the gaps, so a soft brush usually does more good than fabric-on-fabric rubbing alone. Once the mark is visibly gone, a normal wash cycle is all that’s left to do.
Treating set-in yellow underarm stains
Yellow underarm stains are a different problem entirely. They’re not just deodorant sitting on top of fabric, they’re a chemical reaction between aluminum compounds in antiperspirant and the proteins in sweat, sometimes compounded by body oils that bake into the fibers over repeated wear and washing. That combination is what turns a white residue into a yellow, sometimes stiff, patch that a quick rub will never touch.
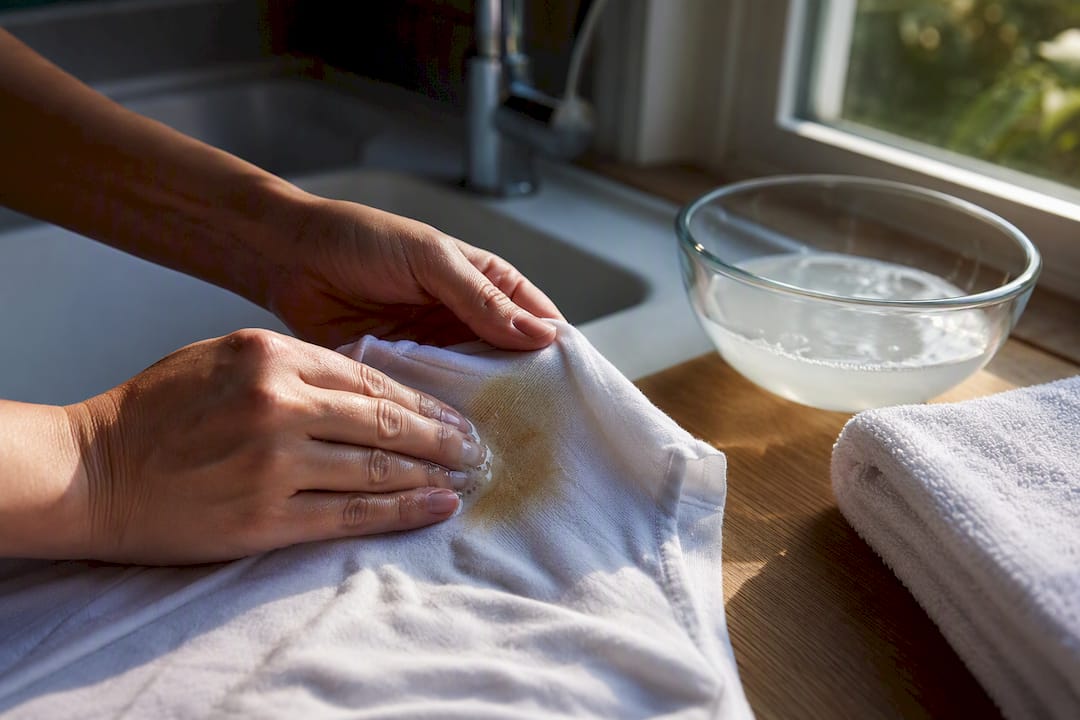
- Apply undiluted liquid laundry detergent or liquid hand dishwashing detergent directly to the stain.
- Work it gently into the fibers with your fingers or a soft brush.
- Let it sit for 20 to 60 minutes before washing, longer for stains that have been there a while.
- Choose an enzyme-based detergent when possible, since enzymes are built to break down the protein component of the stain.
Pro Tip: Always let the pretreatment sit the full recommended time. Rinsing it off early is one of the most common reasons a “quick fix” attempt fails.
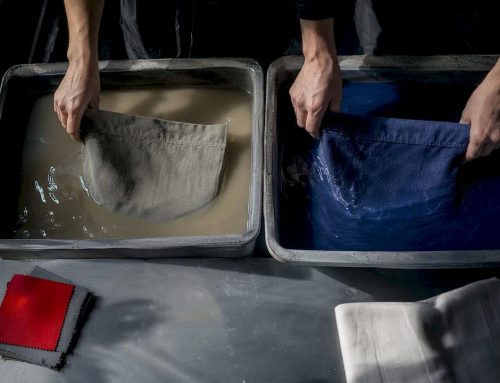
For a stain that doesn’t lift after pretreating, an oxygen-bleach soak is the next step for white or colorfast fabric, provided the care label allows it. University extension guidance recommends pretreating before laundering and repeating the treatment if any mark remains, since soak times often need to run 30 minutes or longer to work through set-in residue. Mix the oxygen bleach into warm water, soak the garment anywhere from 30 minutes to overnight, then wash and check it while still damp. If a trace of yellow lingers, repeat the whole process before it ever sees the dryer.
Soak options and safe chemistry: vinegar, peroxide, and what not to mix
Different fabrics call for different agents, and mixing the wrong two can be worse than doing nothing. For colored garments, a vinegar presoak is a gentler starting point than bleach. Mix 2 tablespoons of distilled white vinegar with 2 tablespoons of cool water and scrub it into the stain, then follow with a longer soak: cool water with 1 cup of distilled white vinegar for at least 30 minutes. This approach is recommended for colorfast fabrics that might not tolerate stronger treatments, but always patch-test first since vinegar can shift some dyes.
- Vinegar presoak: best for colored or colorfast fabrics, always patch-test before full application.
- Oxygen bleach soak: reserved for white or colorfast fabrics when the care label permits it, 30 minutes to overnight.
- Hydrogen peroxide: a reasonable spot treatment on white fabric only, applied directly and rinsed after a short sit.
- Chlorine bleach: only when the label explicitly allows it, and never combined with vinegar or ammonia.
Never mix vinegar with chlorine bleach or ammonia with bleach. Both combinations release fumes that are dangerous to breathe, so keep these agents separate and work in a ventilated space whenever you’re using anything stronger than detergent.
Fabric-specific precautions and patch-test steps
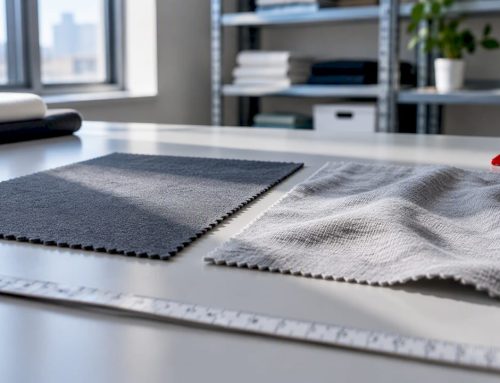
Not every shirt should meet these treatments. Dry-clean-only garments, silk, wool, and anything with embellished prints or heat-set graphics can be damaged by water, vinegar, or oxygen bleach, so those go to a professional rather than the laundry sink.
For anything you do treat at home, patch-test first: pick a hidden seam or inside hem, apply a small amount of the chosen agent, wait 5 to 10 minutes, then rinse and check for color change or damage before treating the visible stain. This step matters even more on delicate knits, stretch fabrics, and vintage pieces, where fibers can be more fragile than they look and a strong pretreatment can weaken or discolor them permanently.

A simple workflow from inspection to wash
Skipping steps is usually what turns a fixable stain into a permanent one. Working through the same order every time keeps you from guessing.
- Inspect the stain and the care label. White transfer calls for a quick fix; yellow discoloration calls for pretreating or soaking.
- Choose your method. Rub or brush fresh marks; pretreat and soak set-in stains based on fabric color and label instructions.
- Launder at the hottest temperature the care label allows, then check the garment while it’s still damp.
- If any trace remains, repeat the pretreatment or soak before washing again. Do not use the dryer until the stain is fully gone.
Pro Tip: Checking the garment wet, not dry, is the step most people skip. Heat from a dryer can set a stain that would have come out with one more soak.
This order works for both fresh and set-in stains because it forces you to diagnose before you treat, rather than reaching for whatever’s under the sink first.
When to bring the garment to a professional cleaner
If the care label says dry-clean-only, if the fabric is antique or otherwise irreplaceable, or if you’ve tried a pretreatment and a soak without success, it’s time to hand it off. Tell the cleaner exactly what you used, including the agents and how long you soaked, along with how old the stain is. Be upfront that some dye changes or fiber damage from repeated home treatment may not be reversible even by a professional.

Why we care about keeping advocacy shirts wearable
A shirt with a message only works if people can see it, which is part of why garment care matters to organizers and advocates. This brand is built on the idea that wearable art starts conversations about schizophrenia and mental illness, and a stained or faded shirt gets worn less. Treating stains properly, and checking the care details on each product page, helps that message stay visible longer.
— Michelle
Choosing shirts that hold up to regular wear
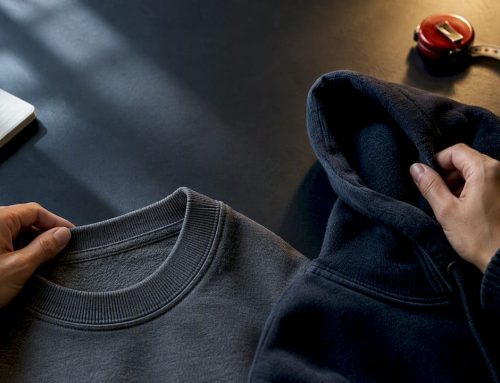
If deodorant stains keep coming back no matter what you try, sometimes the fix is starting with a shirt built for frequent washing. Our mental health T-shirts list fabric and care details right on the product page, so you know what you’re working with before the first wash. For layering options that hide underarm wear a little longer between washes, our hoodies and sweatshirts come with the same care information.
- Product pages list fabric content and washing instructions so you can pick machine-washable, durable pieces.
- Choosing the right fabric from the start cuts down on how often you’re fighting stains in the first place.
Browse the shop at Schizophrenic to find a design that fits your wardrobe and your advocacy.
Sources
This guide draws on stain-removal guidance from UGA’s textile extension program, the American Cleaning Institute’s stain removal guide, and reporting from cleaning editors and laundry professionals.
- Remove Stains From Antiperspirant, Deodorant
- How to remove deodorant stains (TODAY)
- Stain removal guidance (UGA FACS/Real Simple excerpt)
FAQ
How do I remove deodorant buildup from my shirt?
Rub the fabric against itself to loosen fresh white residue, or use a soft brush for stubborn buildup. For buildup that has yellowed or stiffened, pretreat with undiluted liquid detergent and soak for 20 to 60 minutes before washing.
How do I get rid of deodorant stains on clothes quickly?
For fresh white marks, fabric-on-fabric rubbing or a dryer sheet often works in under a minute, followed by a normal wash. Set-in yellow stains take longer, since they need a pretreatment soak of at least 30 minutes to fully release.
What can I use to remove deodorant stains from clothes?
Undiluted liquid laundry detergent or hand dishwashing detergent works as a pretreatment for most fabrics, and an oxygen-bleach soak is effective for white or colorfast garments when the label allows it. Colored fabrics respond well to a vinegar presoak, but always patch-test first.
Does Dawn dish soap get rid of deodorant stains?
Undiluted dish soap can work as a pretreatment on deodorant marks, since it’s recommended by university textile guidance as an accessible option. It works best on fresh to moderate stains, applied directly and left to sit before washing, but a liquid laundry detergent or commercial stain remover may work better on heavily set-in yellowing.